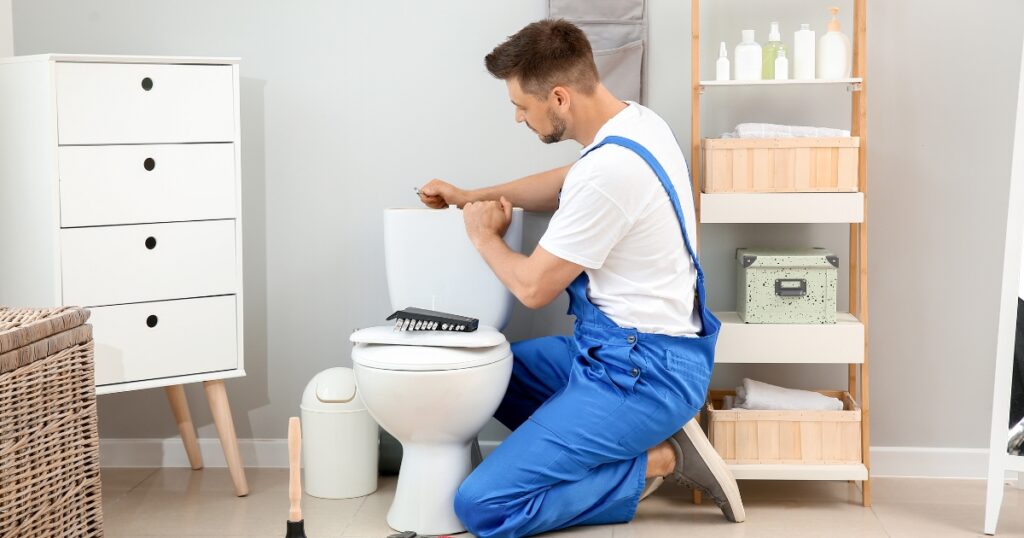
Installing a bidet attachment is a straightforward DIY upgrade that enhances hygiene and comfort in any bathroom. They are designed to fit most standard toilets; such attachments offer an affordable and efficient way to improve cleanliness without major renovations.
Furthermore, whether replacing a toilet seat with a bidet seat or adding a simple sprayer attachment, the process usually takes an hour. With just a few basic tools and instructions, homeowners can enjoy bidet without the added cost of professional installation.
Different Types of Bidet Attachments
Understanding the different types of bidet attachment is essential to choosing the right model for a bathroom’s needs. Each type offers unique features and installation requirements. The types are:
- Non-Electric Bidet Attachments: These attach beneath the toilet seat and use water pressure from the existing plumbing. They generally include adjustable nozzles and control knobs but require no electricity.
- Electric Bidet Seats: These are full-featured seats that replace the existing toilet seat. They offer warm water, heated seats, air dryers, and even nightlights. Thus, it requires a nearby power outlet.
- Handheld Bidet Sprayers: Similar to a kitchen sink sprayer, these offer flexible cleaning by hand. They are easy to install and cost-effective but may require practice to master.
Safety Tips Before Starting the Installation Process
Before installing a bidet attachment, proper safety precautions are important to avoid water damage, personal injury, or equipment failure. Here are some safety tips:
- Turn Off Water Supply: Shut off the toilet’s water valve completely before starting any work to prevent accidental leaks or flooding.
- Unplug Electrical Devices: If working near outlets or installing an electric bidet, ensure all power sources are disconnected to avoid electric shock.
- Check Toilet Compatibility: Confirm that the toilet model is compatible with the bidet attachment to avoid issues with fit or function during installation.
- Avoid Over-Tightening: Hand-tighten the connection first and then gently secure it with a wrench if needed; over-tightening can crack plastic components or cause leaks.
Connecting the T-Valve and Water Supply Line
Connecting the T-valve and water supply line is important in installing a bidet attachment, as it diverts water to both the toilet tank and the bidet. The ways to connect the T-valve and water supply line are:
- T-Valve Role: The T-valve is a three-way connector that splits the water flow. In this, one path goes to the toilet tank and the other to the bidet attachment.
- Choose the Right T-Valve Size: Most bidet kits include a 7/8″ T-valve compatible with standard toilet connections. Ensure the provided valve fits the existing plumbing.
- Disconnect the Toilet Tank Hose: Carefully unscrew the flexible hose that connects the toilet tank to the shut-off valve. Then, have a towel or small bucket ready in case of residual water.
- Install the T-Value to Tank Inlet: Attach the T-valve to the toilet tank’s fill valve where the original hose was connected. After this step, hand-tighten it first, then gently secure it with a wrench.
- Reconnect the Water Supply Hose: Screw the original water supply hose onto the bottom of the T-valve. Ensure all threads are aligned to prevent cross-threading or leaks.
- Connect the Bidet Hose: Attach the smaller bidet hose to the side outlet of the T-valve. This hose will run to the bidet control panel or seat attachment.
Maintenance Tips
Consistent maintenance is important to ensure that the bidet attachment performs well over time. Maintenance tips for longevity and hygiene are:
- Regular Nozzle Cleaning: Most bidet comes with a self-cleaning function, but it is important to manually clean the nozzle periodically with a soft brush and mild soap to prevent mineral buildup or bacterial growth.
- Check for Leaks Monthly: Inspect the T-valve, water supply line, and bidet hose regularly. Small drips can also lead to water damage or mold if unnoticed.
- Descale Components: In hard water areas, mineral deposits clog nozzles or valves. Use a vinegar solution to descale these parts every 2 to 3 months.
- Inspect Hose Integrity: Ensure all hoses remain flexible and crack-free. Replace worn or brittle hoses promptly to avoid bursts or leaks.
Final Thoughts
Installing a bidet attachment is a manageable DIY project that enhances personal hygiene and comfort. With careful preparation, proper tools, and some basic knowledge, homeowners can achieve a professional-grade setup without the need for a plumber. Regular maintenance ensures the bidet remains in the top condition, providing long-term benefits.